Imagine you just took a refreshing shower, washing away the dirt and grime from a day spent hard at work. But before you even get dressed, you’re covered in sweat again! But, of course, if you live in humid conditions, you don’t have to imagine it; you’re probably living it.
Wishing you could make that post-shower feel last a little longer? Are you tired of a foggy bathroom mirror that makes it hard to get ready when you’re short on time? Notice persistent stale air and mold growth around your bathroom? Your exhaust fan may be to blame.
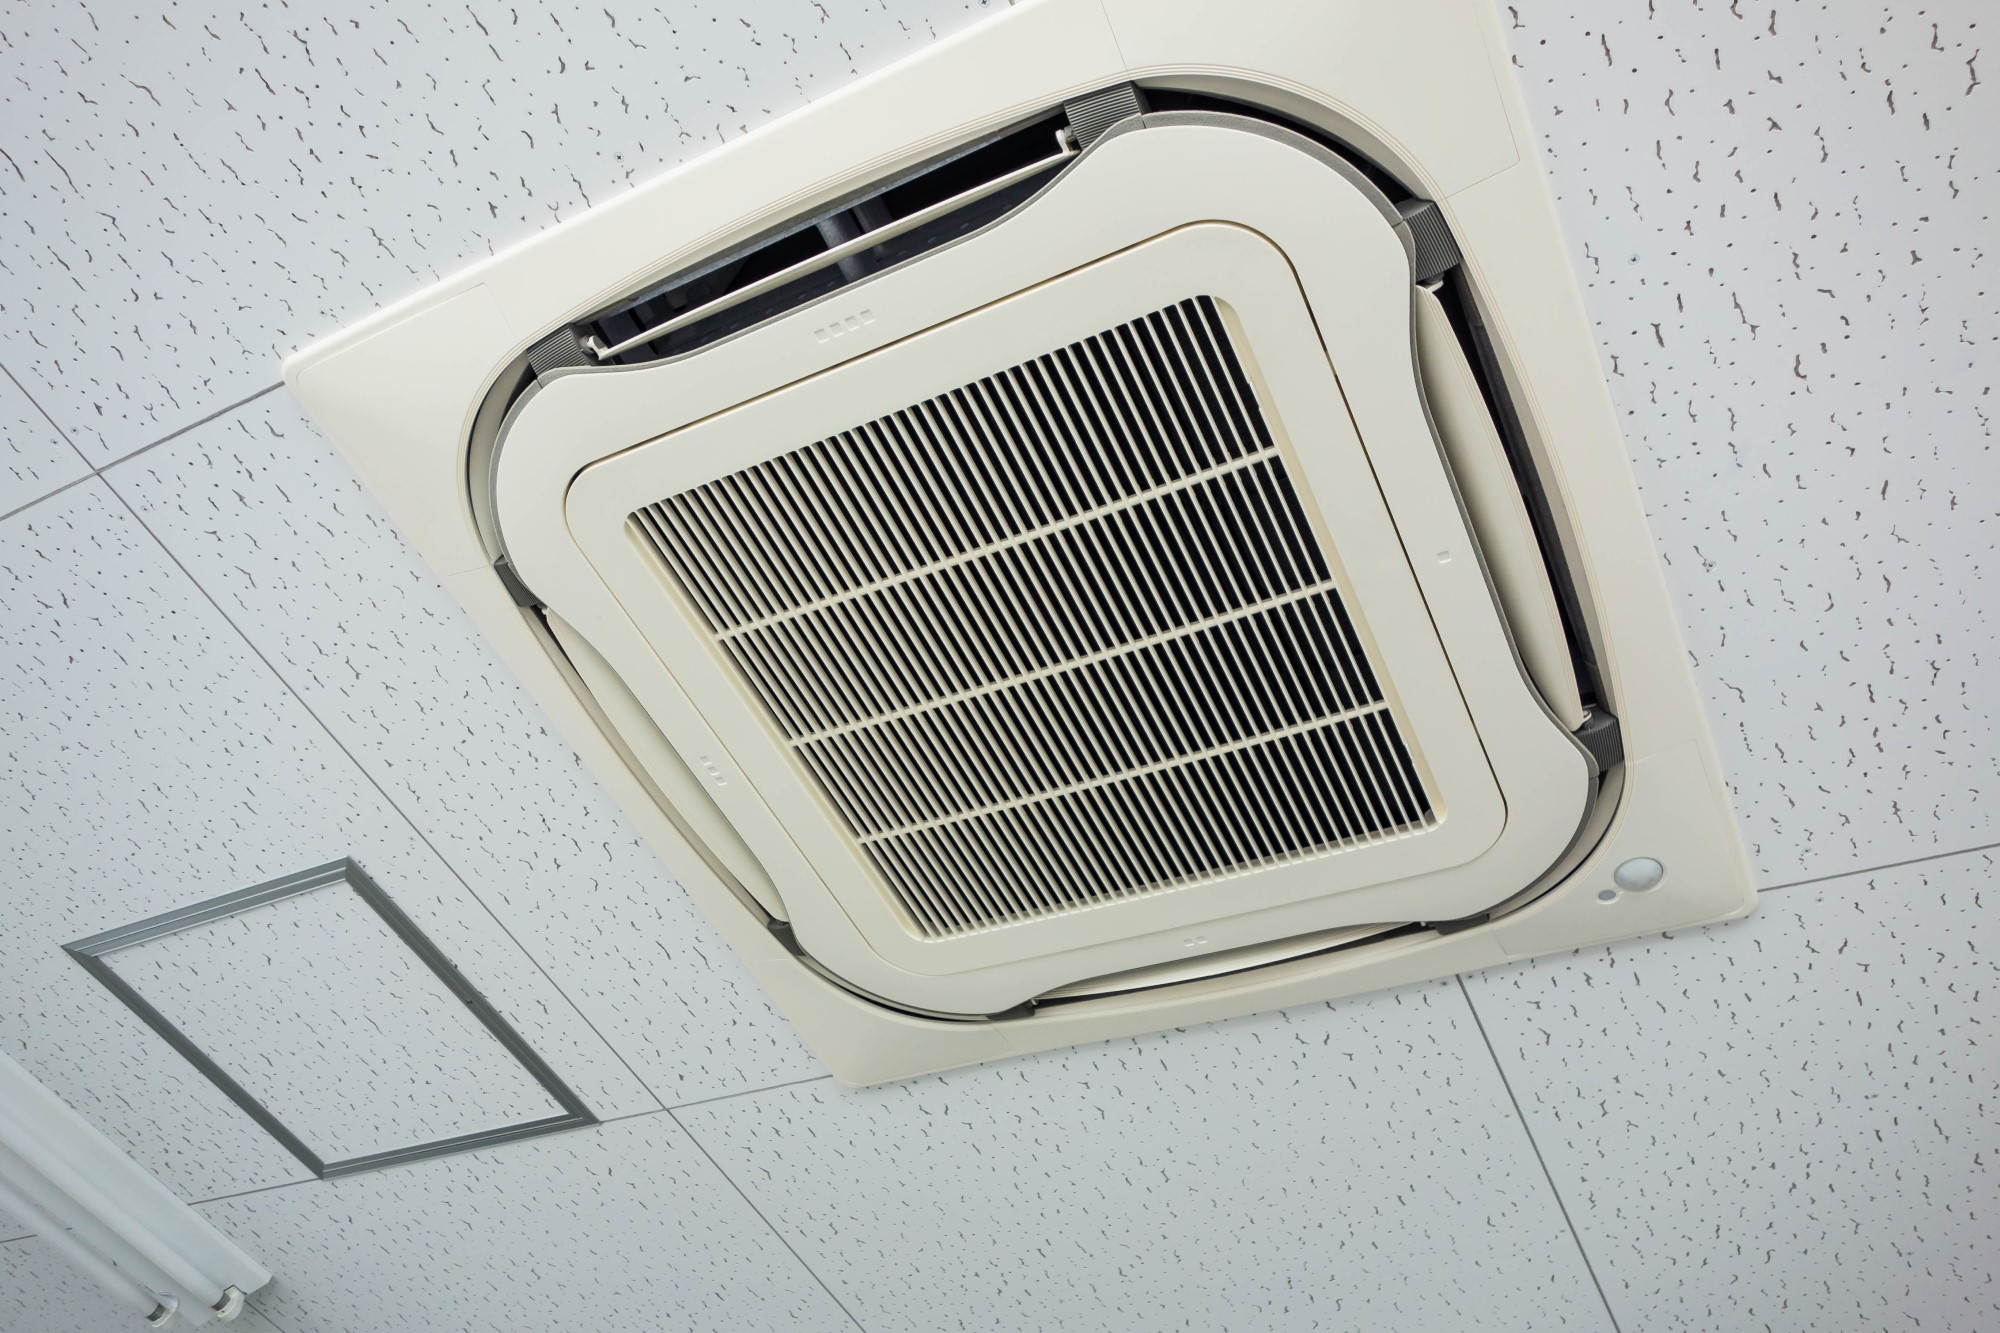
The unpleasant bathroom smells, and excessive humidity are tell-tale signs of exhaust fan failure. Lucky for you, we’re sharing everything you need to know about bathroom fan selection and installation to put an end to your exhaust fan woes for good!
Why Do You Need a Bathroom Exhaust Fan at All?
Did you know that the air inside your home can be more polluted than outdoors? The fact that we spend most of our time indoors indicates that we’re inhaling more air pollutants than ever. Who knew?
And your bathroom is one place in your home that promotes mold growth if not properly ventilated. An exhaust fan is a perfect solution for ventilation issues.
A small, wall-or ceiling-mounted fan can:
- Prevent mold growth
- Remove bath humidity
- Improve indoor air quality
- Eliminate bathroom smells
- Impede fixture rust
- Remove haze from the mirror
The good news about bathroom fan installation is that it’s inexpensive. Some homeowners, however, may feel hesitant to buy a kitchen exhaust fan or a bathroom exhaust fan due to the architecture of their property.
Homes built before the 1960s don’t often feature bathroom fans, and installation requires puncturing through an exterior wall, soffits, joists, and attics.
Even though bathroom exhaust fan installation is not akin to surgery, it’s not easy either. Therefore, we’re sharing the basic steps of how to choose and fit an exhaust fan. That said, it’s best to consult certified electricians who will do a thorough job, limit any unnecessary damage to walls, and adhere to building codes.
How to Pick the Right Exhaust Fan?
Listed below are two main criteria for selecting your exhaust fan:
- Cubic feet per minute (CFM): This determines your fan’s ability to remove moisture from your bathroom (or kitchen). The CFMs can typically range between 50-1000 or even higher. However, for most residential bathrooms, you don’t need a fan with a CFM greater than 200.
- Sone: This is a measure of sound generated by the fan. It ranges from 0.5 (super-silent) to 4.0 (akin to a regular television). Little noise is necessary for privacy against toilet sounds. If your bathroom location is near frequented areas in your home, a 1- or 2-sone fan is a great choice. Besides, you won’t forget to turn it off because of the noise.
The higher the CFM, the greater is the sone.
Apart from that, to determine the right CFM according to your bathroom size, you can use the following formula recommended by some manufacturers:
Length × Width × Height × 0.13 = CFM
Your electrician is an excellent resource in helping you select an exhaust fan that fits your budget, convenience, and space.
What Are Your Fan Options?
Here are three basic options you may find:
- Fan only: If you already have a ceiling fixture in your bathroom, a small fan between 50-70 CFM would be a good choice. Fan costs range between $15 to $50.
- Fan and light combo: If you don’t have sufficient lighting in your bathroom, you can go for the combo. The lighting should be above 60watts. Coupled with a basic exhaust fan, it will cost you anywhere between $30 to $150.
- Deluxe combo: If your budget permits, try getting a humidistat as well. When your bathroom reaches a certain level of humidity, the exhaust fan automatically starts up. You may also include a timer for super-quiet fans so that you don’t have to make a mental note to turn it off. This combination of timer, humidistat, light, and fan can cost you $150-$600.
How to Fit an Exhaust Fan?
Bathroom exhaust fan installation is not for beginners. It includes breaking through the wall/roof, drilling through joists (if you have a heritage home) and removing drywall. For this reason, we recommend hiring a professional for this job.
Here are the basic steps that a professional will follow in the installation of your bathroom exhaust fan:
- Decide the location: If your bathroom and toilet are not separate, ideally, your exhaust fan will be located between them.
- Determine the venting path: Find the shortest venting path from the bathroom to the outside. Every extra foot matters as it influences the efficiency of the exhaust fan. A professional will take any steps necessary to avoid venting damp air into a crawl space or an attic, as this can encourage mold growth.
- Ensure door clearance: Your bathroom door needs roughly 3/4” clearance from the floor so that as your newly installed exhaust fan vents the damp air, new air can replace it. An adequate flow of air reduces the stress on the exhaust fan.